
Introduction
In times of scarcity, human ingenuity shines brightest, especially in the kitchen. The Great Depression, a period marked by profound economic hardship, forced families to become incredibly resourceful with what little they had. From these challenging circumstances emerged a culinary landscape defined by simplicity, affordability, and the ability to transform basic staples into nourishing meals. Today, we’re diving into one such gem: a classic, three-ingredient Depression-era breakfast that embodies the spirit of resilience and delicious practicality.
This humble dish isn’t just a recipe; it’s a taste of history. Born out of necessity, it showcases how a few fundamental ingredients—cornmeal, water (or milk), and a touch of fat for frying—could be combined to create a satisfying and energy-giving start to the day. It’s a testament to the fact that good food doesn’t require a pantry full of exotic spices or expensive cuts of meat. Instead, it relies on clever preparation and an understanding of how to make every morsel count.
What makes this breakfast so special, even today? Its undeniable appeal lies in its incredible simplicity, budget-friendly nature, and surprising versatility. In an era where fast-paced lives often lead to elaborate, time-consuming morning routines, this dish offers a refreshing return to basics. It’s quick to prepare, requires minimal cleanup, and delivers a comforting, slightly crispy, and subtly sweet experience that can be customized to your heart’s content. Whether you’re looking to save money, explore historical cuisine, or simply enjoy a delicious and no-fuss breakfast, this Depression-era classic is about to become your new favorite.
Nutritional Information
Per serving (approximate values):
- Calories: 280-320
- Protein: 5-7g
- Carbohydrates: 45-50g
- Fat: 10-15g
- Fiber: 3-5g
- Sodium: 100-150mg
Ingredients
- 1 cup yellow cornmeal (fine or medium grind)
- 2 cups water (or milk for a richer flavor)
- 2 tablespoons butter, lard, or vegetable oil (for frying)
- Pinch of salt (optional, but recommended)
Instructions
- Prepare the Cornmeal Mixture: In a medium saucepan, combine the cornmeal, water (or milk), and optional pinch of salt. Whisk thoroughly to ensure there are no lumps.
- Cook the Cornmeal: Place the saucepan over medium heat. Bring the mixture to a gentle boil, stirring constantly to prevent sticking and burning. Once it begins to boil, reduce the heat to low.
- Thicken the Porridge: Continue to cook, stirring frequently, for 5-7 minutes, or until the mixture thickens significantly into a very stiff porridge. It should be thick enough to pull away from the sides of the pan when stirred. If you’re using milk, this might take a little longer.
- Shape the Cornmeal: Lightly grease an 8×8 inch baking dish or a loaf pan. Pour the hot, thick cornmeal mixture into the prepared dish. Using a spatula or the back of a spoon, spread it evenly and press it down firmly to create a smooth, compact layer about 1/2 to 3/4 inch thick.
- Chill and Set: Allow the cornmeal to cool completely at room temperature for about 30 minutes, then cover it with plastic wrap and refrigerate for at least 2 hours, or preferably overnight. This chilling step is crucial for the cornmeal to firm up enough for clean slicing.
- Slice the Cornmeal: Once thoroughly chilled and firm, invert the cornmeal block onto a cutting board. If it sticks, run a thin knife around the edges. Using a sharp knife, cut the cornmeal into squares, rectangles, or triangles, approximately 1-inch thick.
- Prepare for Frying: Heat the butter, lard, or vegetable oil in a large skillet over medium heat. You want enough fat to generously coat the bottom of the pan, approximately 1/4 inch deep.
- Fry the Cornmeal Slices: Carefully place the cornmeal slices into the hot fat, ensuring not to overcrowd the pan. Cook in batches if necessary.
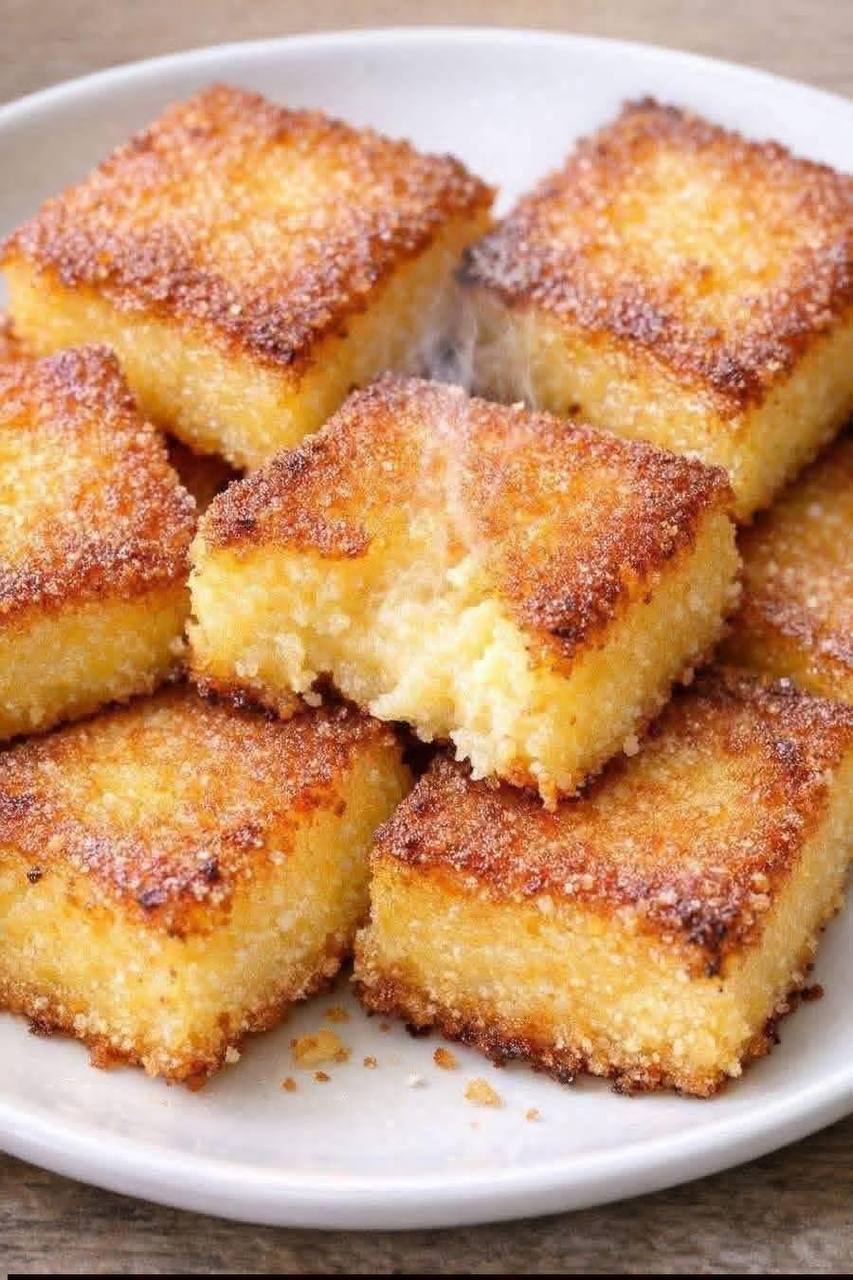
- Achieve Golden Brown Perfection: Fry for 3-5 minutes per side, or until each slice is beautifully golden brown and crispy. The exterior should be firm and have a satisfying crunch, while the interior remains tender.
- Serve Hot: Remove the fried cornmeal slices from the skillet and place them on a plate lined with paper towels to drain any excess fat. Serve immediately with your preferred toppings.
Cooking Tips and Variations
To truly master this Depression-era breakfast and explore its full potential, here are some essential tips and exciting variations:
Tips for Best Results:
- Don’t Rush the Chill: The most common mistake is not chilling the cornmeal mixture long enough. It absolutely needs to be firm for clean, non-crumbly slices. Overnight chilling is ideal.
- Stir Constantly: When cooking the cornmeal, continuous stirring prevents lumps and ensures even cooking, resulting in a smooth, thick porridge.
- Heat Control is Key: For frying, a medium heat is perfect. Too high, and the outside will burn before the inside is properly heated; too low, and the slices will absorb too much oil and become greasy.
- Use a Non-Stick Pan: While not strictly Depression-era, a good non-stick skillet will make frying much easier and prevent the delicate cornmeal from sticking.
- Fat Matters: While vegetable oil works, using butter or lard adds a significant depth of flavor and a richer crust. Bacon grease is another fantastic, historically accurate option that imparts a smoky, savory note.
- Even Thickness: When pressing the cornmeal into the pan, aim for an even thickness. This ensures all slices cook uniformly.
Recipe Variations:
- Sweetened Cornmeal: For a slightly sweeter base, add 1-2 tablespoons of sugar, brown sugar, or maple syrup to the cornmeal mixture along with the water.
- Spiced Up: A pinch of cinnamon, nutmeg, or allspice added to the cornmeal mixture before cooking can elevate the flavor profile.
- Savory Twist: Omit any added sugar. Serve the fried cornmeal with a fried egg, a sprinkle of cheese, or even a dollop of chili for a more substantial savory meal.
- Milk for Creaminess: Swapping water for milk (whole milk or even buttermilk) will result in a richer, creamier interior texture and a slightly more tender bite.
- Baking Option: If you prefer to avoid frying, after chilling and slicing, you can bake the cornmeal slices on a parchment-lined baking sheet at 375°F (190°C) for 15-20 minutes, flipping halfway, until golden and slightly crispy.
- Add-ins: While not strictly three ingredients, for a modern twist, you could fold in a handful of blueberries or finely diced apple to the cooked cornmeal before chilling.
- Topping Ideas: The beauty of this dish is its versatility with toppings.
- Classic: Maple syrup, honey, molasses, or a dusting of powdered sugar.
- Fruity: Fresh berries, sliced bananas, apple butter, or a simple fruit compote.
- Creamy: A dollop of plain yogurt, sour cream, or even whipped cream for a treat.
- Savory: A fried egg, crispy bacon, sausage gravy, or a sprinkle of shredded cheddar cheese.
Storage and Reheating
This classic Depression-era breakfast is best enjoyed fresh, right off the skillet, when the exterior is perfectly crispy and the interior is tender and warm. However, if you find yourself with leftovers or want to prepare a batch ahead of time, here’s how to properly store and reheat them:
Storing Unfried Slices:
- After the cornmeal mixture has been chilled and sliced, but before frying, you can store the unfried slices.
- Place them in an airtight container, separated by parchment paper to prevent sticking.
- Refrigerate for up to 3-4 days.
- When ready to eat, simply fry them as per the instructions. This is an excellent method for meal prepping a quick breakfast throughout the week.
Storing Fried Slices:
- Allow any leftover fried cornmeal slices to cool completely to room temperature.
- Store them in an airtight container in the refrigerator for up to 2-3 days. The crispiness will diminish upon cooling, but the flavor will remain.
Reheating Fried Slices:
- Skillet (Recommended): This is the best method to regain some of that desired crispiness. Heat a lightly oiled or buttered skillet over medium heat. Place the cold fried cornmeal slices in the pan and cook for 2-3 minutes per side, until heated through and the edges begin to crisp up again.
- Oven or Toaster Oven: Preheat your oven or toaster oven to 350°F (175°C). Place the slices on a baking sheet and heat for 5-10 minutes, or until warmed through and slightly re-crisped. This method works well for larger batches.
- Microwave (Least Recommended): While you can technically reheat them in the microwave, this method will make them soft and chewy, and you will lose all the crispy texture. If using, heat in 30-second intervals until warm.
Avoid freezing the fried slices, as the texture can become mealy and unpleasant upon thawing and reheating. The unfried block of chilled cornmeal, however, can be frozen if wrapped very well in plastic wrap and then foil, for up to a month. Thaw in the refrigerator overnight before slicing and frying.
Frequently Asked Questions
What kind of cornmeal should I use for this recipe?
For this recipe, you can use either fine or medium-grind yellow cornmeal. Fine-grind cornmeal will result in a smoother, more uniform texture, while medium-grind will give it a slightly more rustic feel with a bit of bite. Avoid coarse-grind cornmeal (often labeled as polenta) unless you prefer a much heartier and chewier texture, as it may require longer cooking times to soften properly.
Can I make this recipe gluten-free?
Yes, this recipe is naturally gluten-free! Cornmeal is a gluten-free grain, making this a fantastic option for those with gluten sensitivities or celiac disease. Just ensure that any butter or oil you use is also certified gluten-free if cross-contamination is a concern, though most are naturally so.
Why did my cornmeal slices fall apart when I tried to fry them?
The most common reason for cornmeal slices falling apart is insufficient chilling time. The cornmeal mixture needs to be thoroughly cold and firm for at least 2 hours (preferably overnight) in the refrigerator. If it’s not firm enough, it will be too soft to hold its shape when cut and transferred to the hot pan. Ensure you’ve cooked the initial porridge mixture until it’s very thick and pulls away from the sides of the pan, as this also contributes to its structural integrity once chilled.
Can I prepare the cornmeal mixture the night before?
Absolutely, and in fact, it’s highly recommended! Preparing the cornmeal mixture the night before allows it to chill thoroughly overnight, ensuring it becomes perfectly firm and easy to slice in the morning. This makes for a much quicker and less stressful breakfast preparation, as all you’ll need to do in the morning is slice and fry the pre-made cornmeal block.


