Introduction
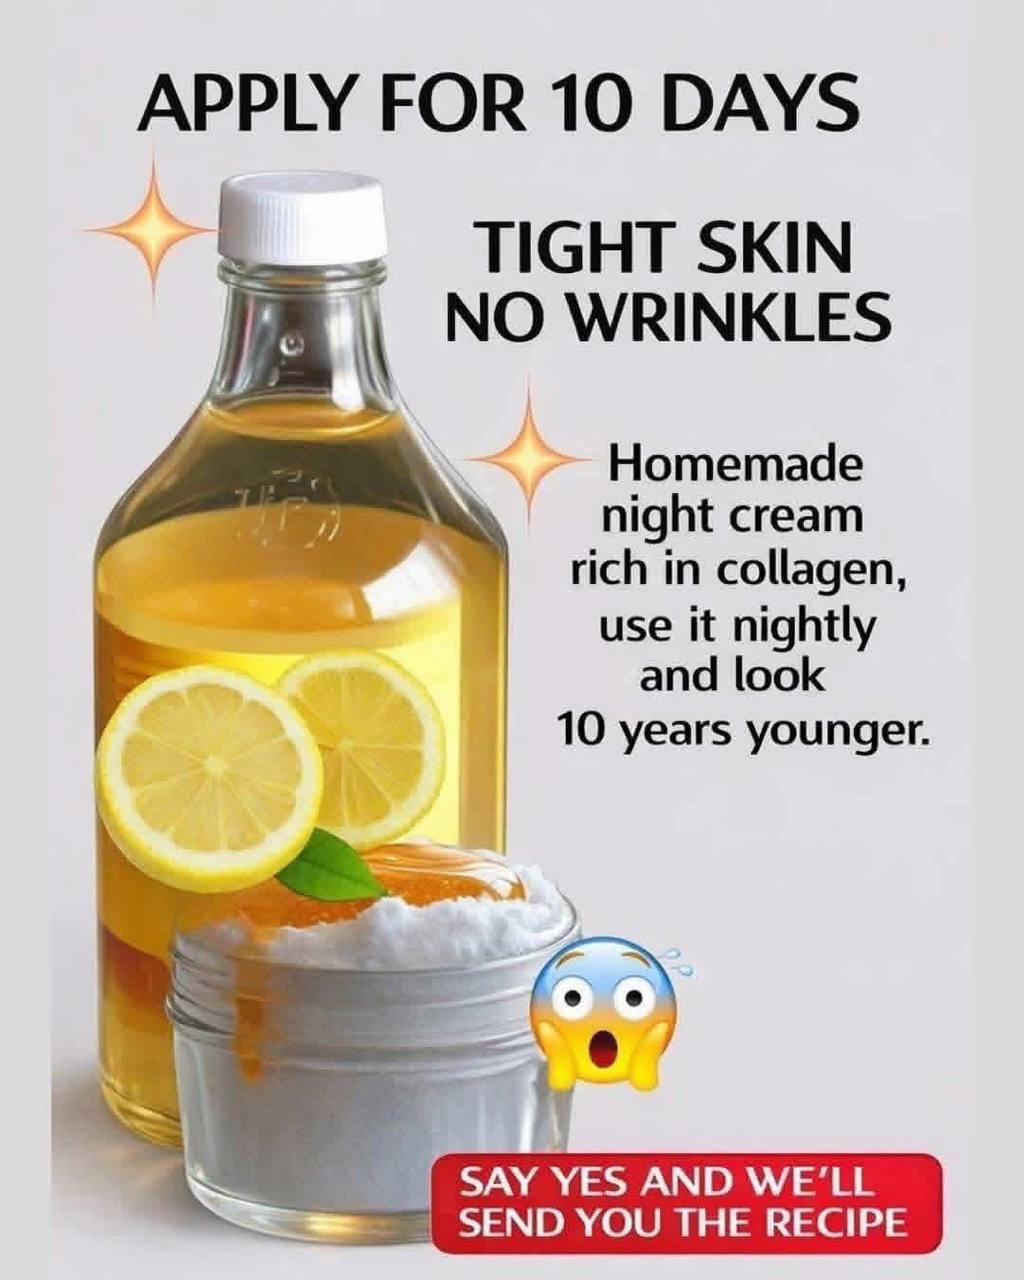
In a world increasingly turning to natural solutions, the quest for youthful, radiant skin often leads us back to the pantry. Forget expensive serums and complicated routines; today, we’re diving into the secret of a truly remarkable homemade anti-wrinkle cream. This isn’t just another DIY beauty hack; it’s a carefully crafted blend of natural ingredients designed to smooth wrinkles, rejuvenate your complexion, and bestow a healthy, youthful glow. Imagine harnessing the power of nature to turn back the clock, all from the comfort of your own home.
This simple, yet potent, recipe taps into the incredible benefits of everyday ingredients, transforming them into a luxurious night cream. It’s popular because it offers an accessible, gentle, and effective alternative to commercial products, many of which contain harsh chemicals. The beauty of this homemade solution lies in its transparency – you know exactly what’s going onto your skin, ensuring purity and potency. Prepare to discover a natural anti-wrinkle cream that truly delivers on its promise of smoother, more vibrant skin.
What makes this cream so special is its synergistic blend of ingredients, each playing a crucial role in skin rejuvenation. From potent antioxidants that combat free radical damage to intensely moisturizing emollients that plump up fine lines, every component is chosen for its skin-loving properties. This cream is specifically designed to work overnight, when your skin is most receptive to repair and regeneration, allowing its natural goodness to deeply nourish and restore your complexion while you sleep. Get ready to awaken to visibly smoother, more supple skin, feeling refreshed and looking years younger.
Nutritional Information
Per serving (approximate values for a small application):
- Calories: 15
- Protein: 0g
- Carbohydrates: 0g
- Fat: 1.5g
- Fiber: 0g
- Sodium: 0mg
Ingredients
- 1/4 cup high-quality extra virgin olive oil (or sweet almond oil)
- 2 tablespoons pure distilled water
- 1 tablespoon fresh lemon juice (strained)
- 1 tablespoon beeswax pellets (cosmetic grade)
- 1/2 teaspoon Vitamin E oil (from capsules or liquid)
- 5-10 drops essential oil of choice (e.g., lavender, frankincense, rosehip – optional)
- Small, clean, airtight glass jar or container
Instructions
- Prepare Your Workspace and Tools: Ensure all your utensils, bowls, and containers are thoroughly clean and sterilized. This is crucial for maintaining the purity and shelf life of your homemade cream.
- Melt the Beeswax and Oil: In a heat-safe glass bowl, combine the extra virgin olive oil (or sweet almond oil) and beeswax pellets. Create a double boiler by placing this bowl over a saucepan filled with a few inches of simmering water. Ensure the bottom of the glass bowl does not touch the water.
- Gently Heat and Stir: Heat the mixture over medium-low heat, stirring occasionally, until the beeswax is completely melted and fully incorporated into the oil. This process should be gentle to preserve the integrity of the oils.
- Remove from Heat: Once the beeswax is fully melted, carefully remove the glass bowl from the double boiler. Set it aside to cool slightly for a few minutes, but do not let it solidify.
- Prepare the Water and Lemon Mixture: In a separate small bowl, combine the distilled water and strained fresh lemon juice. Stir gently to mix.
- Emulsify the Cream: While the oil and beeswax mixture is still warm and liquid, slowly begin to add the water and lemon juice mixture, a few drops at a time, to the oil mixture.
- Blend Thoroughly: As you add the liquid, continuously whisk or use a small immersion blender on a low setting to emulsify the ingredients. This is the critical step for creating a smooth, creamy texture. Continue blending until all the liquid is incorporated and the cream begins to thicken and turn opaque.
- Add Vitamin E and Essential Oils: Once the cream has started to thicken but is still warm, add the Vitamin E oil and your chosen essential oil (if using). Stir well to ensure they are evenly distributed throughout the cream.
- Cool and Transfer: Allow the cream to cool completely to room temperature. As it cools, it will continue to solidify and achieve its final creamy consistency. Once fully cooled, transfer the cream into your clean, airtight glass jar or container.
- Store Properly: Seal the container tightly and store your homemade anti-wrinkle cream in a cool, dark place. For extended freshness, refrigeration is recommended.
- Perform a Patch Test: Before applying the cream to your entire face, always perform a patch test on a small, inconspicuous area of your skin (like behind your ear or on your inner arm) to check for any adverse reactions or sensitivities. Wait 24 hours to ensure no irritation occurs.
- Nightly Application: Once you’ve confirmed no sensitivity, apply a small amount of the cream to clean, dry skin on your face and neck each night before bed. Gently massage it in using upward circular motions until absorbed.
Cooking Tips and Variations
For the best results with your natural anti-wrinkle cream, always prioritize high-quality, organic ingredients. The purity of your oils, beeswax, and lemon juice directly impacts the cream’s effectiveness and your skin’s health. When melting the beeswax and oil, maintain a gentle heat; overheating can degrade the beneficial properties of the oils. The emulsification step is crucial for achieving a smooth, stable cream. If you find your cream separating, it often means the two phases (oil and water) weren’t blended thoroughly enough or at the right temperature. Try re-warming the mixture gently and blending again.
For variations, you can experiment with different carrier oils. Sweet almond oil is excellent for sensitive skin, while rosehip oil is renowned for its regenerative properties and can be used in place of or in addition to the olive oil for an extra boost. For essential oils, frankincense is highly praised for its anti-aging benefits, and lavender offers soothing and healing properties. Always dilute essential oils properly. To address the “rich in collagen” aspect, while this cream doesn’t directly contain collagen, the Vitamin C from lemon and Vitamin E are powerful antioxidants that support your skin’s natural collagen production and protect existing collagen from damage, helping to maintain skin elasticity and firmness. You could also add a small amount of a collagen-boosting peptide serum (like a few drops of a store-bought one) to the finished, cooled cream, stirring it in thoroughly for added benefits.
Storage and Reheating
Proper storage is essential for maintaining the efficacy and shelf life of your homemade anti-wrinkle cream. Store the cream in a clean, airtight glass jar. Amber or dark-colored glass jars are ideal as they protect the ingredients from light degradation. Keep the jar in a cool, dark place, away from direct sunlight and heat sources, which can cause the oils to go rancid and the cream to separate. For optimal freshness and to extend its shelf life, it is highly recommended to store your homemade cream in the refrigerator. This will help prevent bacterial growth and maintain the stability of the natural ingredients.
When stored correctly in the refrigerator, this natural anti-wrinkle cream typically has a shelf life of about 2-3 weeks. If you notice any changes in color, smell, or texture (such as separation or mold), it’s best to discard the cream. Because this recipe does not contain synthetic preservatives, its shelf life is naturally shorter than commercial products. To avoid contamination, always use a clean spatula or applicator to scoop out the cream, rather than dipping your fingers directly into the jar. This prevents introducing bacteria that can shorten its freshness. There is no “reheating” involved with this cream; once it’s made and cooled, it’s ready for use as is.
Frequently Asked Questions
What makes this cream effective for anti-aging?
This cream is effective due to its blend of natural ingredients rich in antioxidants, vitamins, and moisturizing agents. Lemon juice provides Vitamin C, a powerful antioxidant that helps protect skin from free radical damage and supports collagen production. Olive oil (or sweet almond oil) offers deep hydration, essential fatty acids, and Vitamin E, which nourishes the skin and improves elasticity. Beeswax acts as a humectant and creates a protective barrier, locking in moisture. Together, these ingredients work to reduce the appearance of fine lines, improve skin texture, and promote a more youthful, radiant complexion by supporting the skin’s natural repair processes.
Can I use this cream during the day?
While this cream is primarily formulated for nightly use due to its rich texture and the presence of lemon juice, it can technically be used during the day. However, it’s crucial to be aware that lemon juice can increase skin’s photosensitivity, making it more susceptible to sun damage. If you choose to use it during the day, it is absolutely imperative to follow up with a broad-spectrum sunscreen with a high SPF to protect your skin from UV radiation. For best results and safety, we recommend sticking to nightly application to allow the cream to work its magic while your skin is in repair mode, without the added risk of sun exposure.
How long does it take to see results?
Results can vary greatly from person to person, as skin types and conditions differ. With consistent nightly use, many individuals may start to notice improvements in skin hydration, smoothness, and overall radiance within 2-4 weeks. The reduction in the appearance of fine lines and wrinkles may take a bit longer, often becoming more noticeable after 6-8 weeks of regular application. Remember, natural remedies work gradually by supporting your skin’s health, so patience and consistency are key to achieving the best results. For significant skin concerns, always consult with a dermatologist.