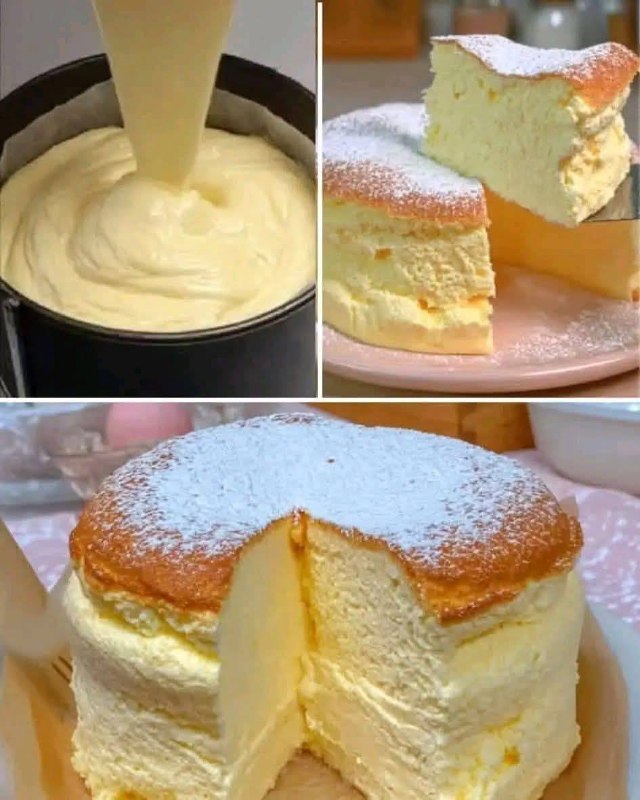
$300 Frosting Recipe (The Silky Bakery-Style Secret You’ll Love)
If you’ve ever dreamed of creating a frosting so light, smooth, and irresistibly delicious that it could rival your favorite bakery’s best cakes, this is it. Known affectionately as the “$300 Frosting Recipe,” this legendary creation has been passed down and whispered about for decades. The story goes that someone once paid $300 for this secret formula—and after one taste, you’ll understand exactly why. This isn’t your average buttercream. It’s silky, luscious, and perfectly balanced—sweet but never cloying, rich but never heavy. It transforms even the simplest homemade cake into a showstopper dessert that tastes straight from a high-end bakery kitchen.
What Makes the $300 Frosting Recipe So Special
At first glance, the ingredients look humble—milk, flour, butter, sugar, and vanilla. But the magic lies in the method. The unique cooking step, where milk and flour are whisked together into a thick paste before being combined with butter and sugar, creates an ultra-smooth, stable frosting that’s unlike anything else. This technique gives the frosting its signature airy texture and delicate sweetness. The result is a frosting that spreads like silk, pipes beautifully, and holds its shape without becoming greasy or overly sugary.
The Origins of the Famous $300 Frosting
While the exact story varies, legend has it that decades ago, a woman enjoyed a slice of cake at a fancy restaurant and fell in love with its frosting. When she asked the chef for the recipe, she later received it in the mail—with a $300 bill attached! The story went viral (even before the internet) and the “$300 Frosting” was born. Though it might have started as a cheeky joke, the truth is that this frosting is worth every penny in taste and texture. It’s sometimes called “Ermine Frosting,” “Boiled Milk Frosting,” or “Heritage Frosting,” but no matter the name, one spoonful and you’ll be hooked.
Ingredients You’ll Need
- 1 cup milk
- 5 tablespoons all-purpose flour
- 1 cup unsalted butter, softened
- 1 cup granulated sugar
- 1 teaspoon pure vanilla extract
Step-by-Step Instructions
Step 1: Create the milk and flour base
In a small saucepan, whisk together the milk and flour over medium heat. Continue whisking until the mixture thickens into a pudding-like consistency. This step takes about 5 to 7 minutes. It’s important to keep whisking so it doesn’t form lumps or burn. Once thickened, remove from heat and let it cool completely. You can transfer it to a bowl and cover it with plastic wrap to prevent a skin from forming.
Step 2: Beat the butter and sugar
While the milk mixture cools, add the softened butter and sugar to a large mixing bowl. Using an electric mixer or stand mixer, beat on high speed for 3 to 5 minutes, until the mixture is light, pale, and fluffy. This step is essential because it aerates the butter and helps dissolve the sugar slightly.
Step 3: Combine and whip to perfection
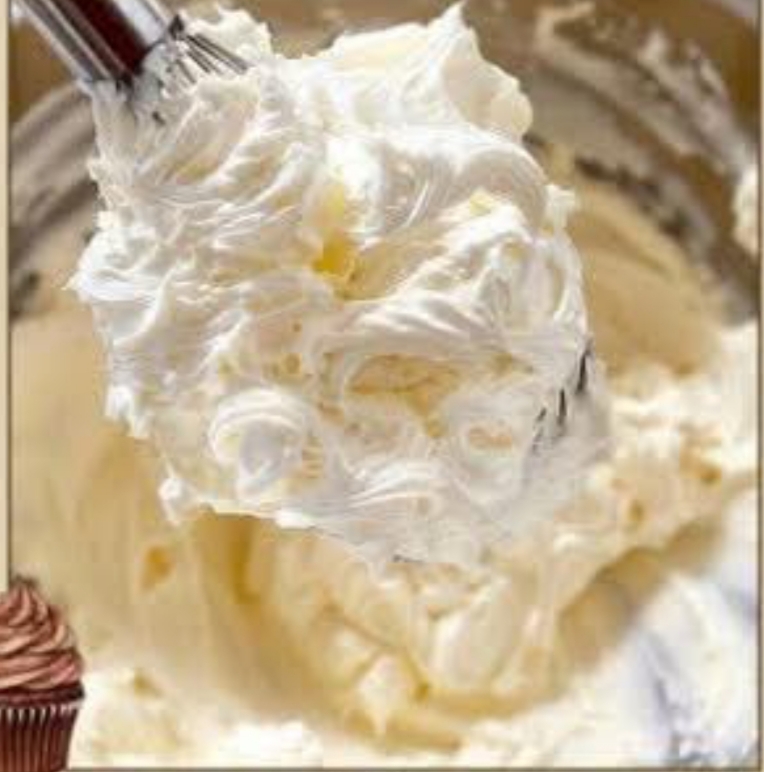
Once the milk mixture has cooled completely, add it to the butter and sugar mixture along with the vanilla extract. Beat everything together on high speed for about 5 minutes, or until it transforms into a silky, cloud-like frosting. The texture should be soft, creamy, and spreadable—perfect for cakes, cupcakes, or cookies.
Texture and Flavor Notes
This frosting is lighter than buttercream but creamier than whipped cream. It’s not overly sweet, which makes it the perfect complement for rich cakes like chocolate, red velvet, or even carrot cake. The mouthfeel is unbelievably smooth, almost like mousse, and it holds up beautifully at room temperature without melting.
Tips for Perfect Results Every Time
Cool the milk mixture completely
If the milk and flour base is even slightly warm, it can cause the butter to melt and ruin the frosting’s texture. Cooling it fully is the key to that signature fluffiness.
Use high-quality butter
Since butter is one of the main ingredients, opt for a good-quality unsalted butter. It will give your frosting a richer flavor and smoother texture.
Beat longer than you think you need
Five full minutes of beating might seem excessive, but it’s necessary. That extended whipping time creates the frosting’s signature silky consistency.
Add flavor variations
This recipe is versatile. You can add cocoa powder for a chocolate version, instant espresso for a mocha flavor, or lemon zest for a bright twist.
Frosting Pairings
This frosting is amazing on just about any dessert, but here are a few combinations that taste like pure heaven:
- Classic chocolate cake: The light sweetness of the frosting balances rich, deep cocoa flavors perfectly.
- Red velvet cake: Originally, red velvet was paired with this exact frosting—making it the traditional and most authentic choice.
- Vanilla cupcakes: Turn a simple vanilla cupcake into a bakery-style treat by piping this frosting on top.
- Coconut cake: Add a hint of coconut extract to the frosting and sprinkle with shredded coconut for a tropical twist.
- Strawberry shortcake: Spread it between layers of sponge cake and fresh strawberries for an elegant dessert.
Troubleshooting Common Problems
Frosting looks curdled or separated
Don’t panic! Keep beating. Sometimes the mixture just needs more time for the ingredients to fully emulsify. Within a few minutes, it will come together into a smooth, creamy texture.
Frosting too soft
If it feels too loose or doesn’t hold its shape, chill it in the refrigerator for 10–15 minutes, then beat again briefly. This will firm up the butter and restore structure.
Frosting too stiff
If it seems dense or difficult to spread, add a tablespoon of milk and beat again to loosen it up slightly.
Storage Tips
Store the frosting in an airtight container in the refrigerator for up to 5 days. Before using, let it come to room temperature and beat it for a minute or two to restore its creamy texture. You can also freeze it for up to 2 months. Thaw overnight in the refrigerator, then rewhip before using.
Why Bakers Love This Recipe
Professional bakers and home cooks alike adore this frosting because it’s reliable, elegant, and versatile. It doesn’t crust over like traditional buttercream, making it ideal for smooth finishes and layer cakes. It also holds up beautifully under fondant or fresh fruit toppings. And because it’s less sugary than most frostings, it allows the true flavors of your cake to shine through.
Variations You’ll Love
Chocolate $300 Frosting
Add 2–3 tablespoons of unsweetened cocoa powder and an extra tablespoon of milk for a light, chocolatey twist.
Coffee Cream Frosting
Mix in a teaspoon of instant espresso powder dissolved in 1 tablespoon of milk to create a mocha flavor perfect for tiramisu or espresso cupcakes.
Lemon Cloud Frosting
Add 1 tablespoon of lemon juice and 1 teaspoon of grated lemon zest for a bright, citrusy finish.
Almond Frosting
Swap vanilla for almond extract for a delicate nutty flavor that pairs perfectly with cherry or white cakes.
Serving Ideas
Try spreading this frosting generously over a warm chocolate layer cake for a melt-in-your-mouth dessert experience. Or use it as a filling for whoopie pies, a topping for cupcakes, or even a dip for fresh strawberries. You can pipe it into swirls, rosettes, or smooth layers—it always looks professional and tastes incredible.
Why It’s Worth the Hype
This frosting isn’t just about nostalgia or a fun story—it’s about pure, timeless deliciousness. It’s the kind of recipe that makes people pause mid-bite and say, “You made this yourself?” It’s light enough for summer desserts yet rich enough to complement winter treats. The $300 Frosting proves that simplicity and technique can turn basic ingredients into something extraordinary.
Conclusion
The $300 Frosting Recipe is more than a dessert topping—it’s a little piece of baking history. With just a few pantry staples and some patience, you can create a frosting that’s light, silky, and unforgettable. Whether you’re making a birthday cake, cupcakes for a celebration, or just treating yourself to something sweet, this frosting turns every bake into a masterpiece. After one taste, you’ll understand exactly why it’s been treasured for generations—and why it’s still worth every bit of its legendary $300 reputation.