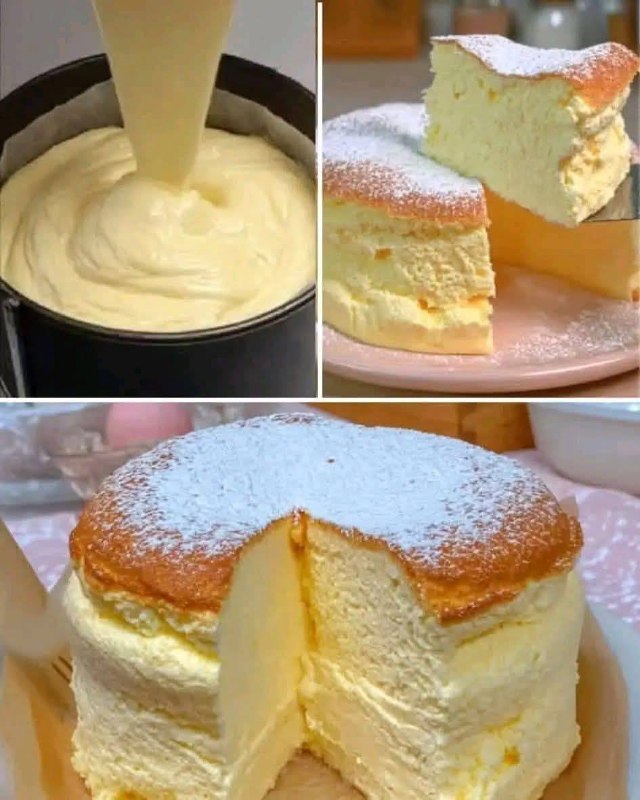
Don’t Buy Cheese! Just Add Vinegar to Milk and You’ll Get Incredibly Delicious Homemade Cheese
If you’ve ever wanted to make your own cheese at home without complicated tools or expensive ingredients, this easy vinegar cheese recipe is going to blow your mind. It’s rich, creamy, and flavorful — made from nothing more than milk, vinegar, salt, butter, and herbs. With this method, you can turn everyday milk into a delicious homemade cheese that rivals anything you’d find at the store. Best of all, it takes less than an hour from start to finish and doesn’t require any special equipment or starter cultures.
Why You’ll Love This Recipe
This homemade cheese recipe is perfect for beginners. You don’t need rennet, thermometers, or fancy molds — just basic ingredients and a little patience. The vinegar naturally curdles the milk, separating it into soft, tender curds and whey. When mixed with melted butter and herbs, the result is a creamy, flavorful cheese that can be sliced, spread, or crumbled. It’s perfect for breakfast, salads, sandwiches, or snacking straight from the fridge.
Ingredients You’ll Need
To make this simple, foolproof cheese, you only need:
- 1.5 liters milk (6 1/3 cups): Use full-fat milk for the richest, creamiest texture. Avoid ultra-pasteurized milk, as it may not curdle properly.
- 2 tablespoons apple cider vinegar (30 ml): The mild acidity of apple cider vinegar helps the milk curdle while adding a subtle tangy flavor.
- Salt, to taste: Brings out the natural flavor of the cheese.
- 50 grams melted butter (1/4 cup): Adds creaminess and helps the curds bind together.
- 1 tablespoon Provencal herbs (15 ml): A mix of thyme, oregano, basil, and rosemary gives the cheese a fragrant Mediterranean touch.
Step-by-Step Instructions
Step 1: Heat the Milk
Pour the milk into a large saucepan and heat it gently over medium flame. Stir occasionally to prevent the milk from scorching at the bottom. You don’t want to boil it — just warm it enough so that steam begins to rise.
Step 2: Add the Vinegar
Once the milk is hot (around 80–85°C or 175°F), slowly pour in the apple cider vinegar while stirring. You’ll notice the milk starting to separate — this is when the curds (the solid white bits) form and the whey (the yellowish liquid) appears. Continue stirring for 1–2 minutes, then turn off the heat.
Step 3: Let It Rest
Cover the pan and let it sit undisturbed for about 10 minutes. During this time, the curds will fully separate from the whey, making it easier to strain.
Step 4: Strain the Curds
Line a colander with a clean cheesecloth or thin cotton towel and place it over a large bowl. Pour the curdled milk mixture through the cloth to separate the curds from the whey. You can save the whey — it’s great for soups, bread dough, or smoothies.
Step 5: Rinse and Squeeze
Rinse the curds gently with cool water to remove the vinegar taste. Then gather the cloth’s edges and squeeze out as much liquid as you can. The drier the curds, the firmer your cheese will be.
Step 6: Mix in Butter and Herbs
Transfer the warm curds to a clean bowl. Add the melted butter, salt, and Provencal herbs. Mix thoroughly until smooth and evenly seasoned. You can adjust the herbs and salt to suit your taste — add more for a stronger flavor or less for a mild version.
Step 7: Shape the Cheese
Spoon the mixture into a small bowl, mold, or container lined with plastic wrap. Press it down gently to remove air pockets. Refrigerate for 2–3 hours until firm.
Step 8: Slice and Serve
Once set, remove the cheese from the mold and slice it. You’ll be amazed by how soft, creamy, and flavorful it is. Enjoy it plain, with crackers, on toast, or in salads.
Flavor Variations
This basic vinegar cheese can easily be customized. Try one of these delicious twists:
- Garlic & Herb Cheese: Add minced garlic and parsley for a savory, aromatic flavor.
- Spicy Cheese: Mix in red chili flakes or black pepper for a little kick.
- Lemon Cheese: Use lemon juice instead of vinegar for a fresher, citrusy taste.
- Smoked Cheese: Add a drop of liquid smoke or a pinch of smoked paprika for depth.
Tips for Perfect Homemade Cheese
- Use fresh, full-fat milk: It gives the richest texture and best yield.
- Don’t overheat: Boiling can cause the curds to become rubbery.
- Press longer for firmer cheese: If you prefer a sliceable cheese, press out more whey before chilling.
- Use the whey wisely: It’s packed with protein and nutrients — great for baking or cooking.
How to Store
Wrap the cheese in parchment paper or plastic wrap and keep it in the refrigerator. It will stay fresh for up to 5 days. For longer storage, freeze it in an airtight container — just thaw it in the fridge before using.
How to Use Your Homemade Cheese
- Spread on warm toast with a drizzle of olive oil
- Crumble over salads for a soft, tangy touch
- Melt on top of pasta or vegetables
- Use as a filling for crepes or pastries
- Serve as part of a cheese board with olives and bread
Why This Recipe Works
Vinegar curdling is a traditional, time-tested method used across cultures — from Indian paneer to Italian ricotta. The acid in the vinegar reacts with the proteins in the milk, creating tender curds that form the base of your cheese. The melted butter adds smoothness and richness, while herbs give it a signature flavor that makes it taste like something straight from a farmhouse kitchen.
Frequently Asked Questions
Can I use white vinegar instead of apple cider vinegar?
Yes! White vinegar works just as well — it will produce a neutral-tasting cheese.
Can I make this cheese with skim milk?
You can, but the cheese will be drier and less creamy. Whole milk gives the best texture.
How do I make it vegan?
You can substitute whole milk with soy milk or almond milk and use plant-based butter, but make sure the milk has no added sugar or thickeners.
Can I heat the cheese to melt it?
Yes, it melts beautifully! Add it to hot dishes like pasta, omelets, or baked casseroles.
Health Benefits
Homemade vinegar cheese is not just delicious — it’s nutritious, too.
- High in protein: Great for muscle repair and energy.
- Calcium-rich: Supports healthy bones and teeth.
- Free from preservatives: You know exactly what’s in it.
- Low-cost and easy: Perfect for families or anyone looking to save money on groceries.
Conclusion
Making cheese at home doesn’t have to be difficult — and this simple vinegar cheese recipe proves it. With just milk, vinegar, butter, salt, and herbs, you can create a soft, flavorful, and creamy cheese that’s miles better than anything from the store. It’s fresh, wholesome, and endlessly versatile. Whether you spread it on bread, crumble it over salads, or snack on it by itself, every bite delivers that rich homemade goodness you’ll be proud of. Once you try it, you may never buy cheese again!