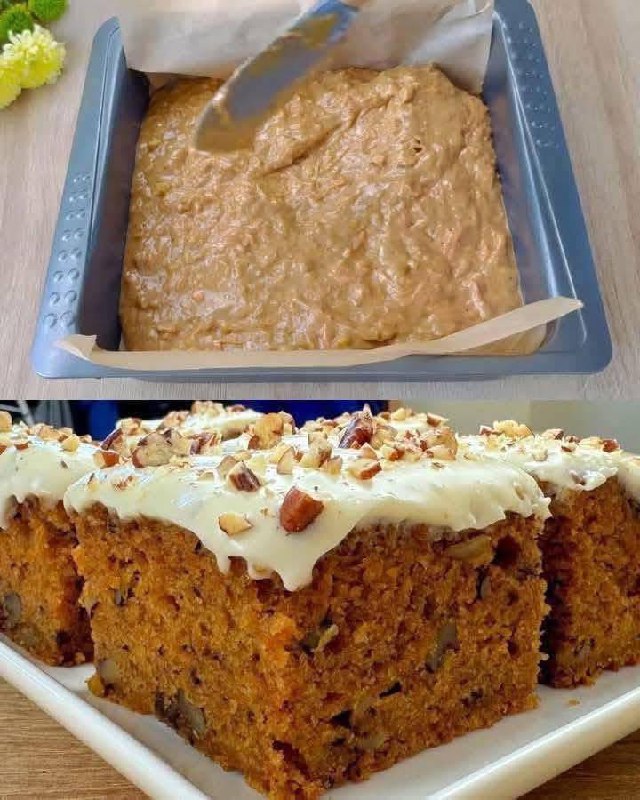
Introduction
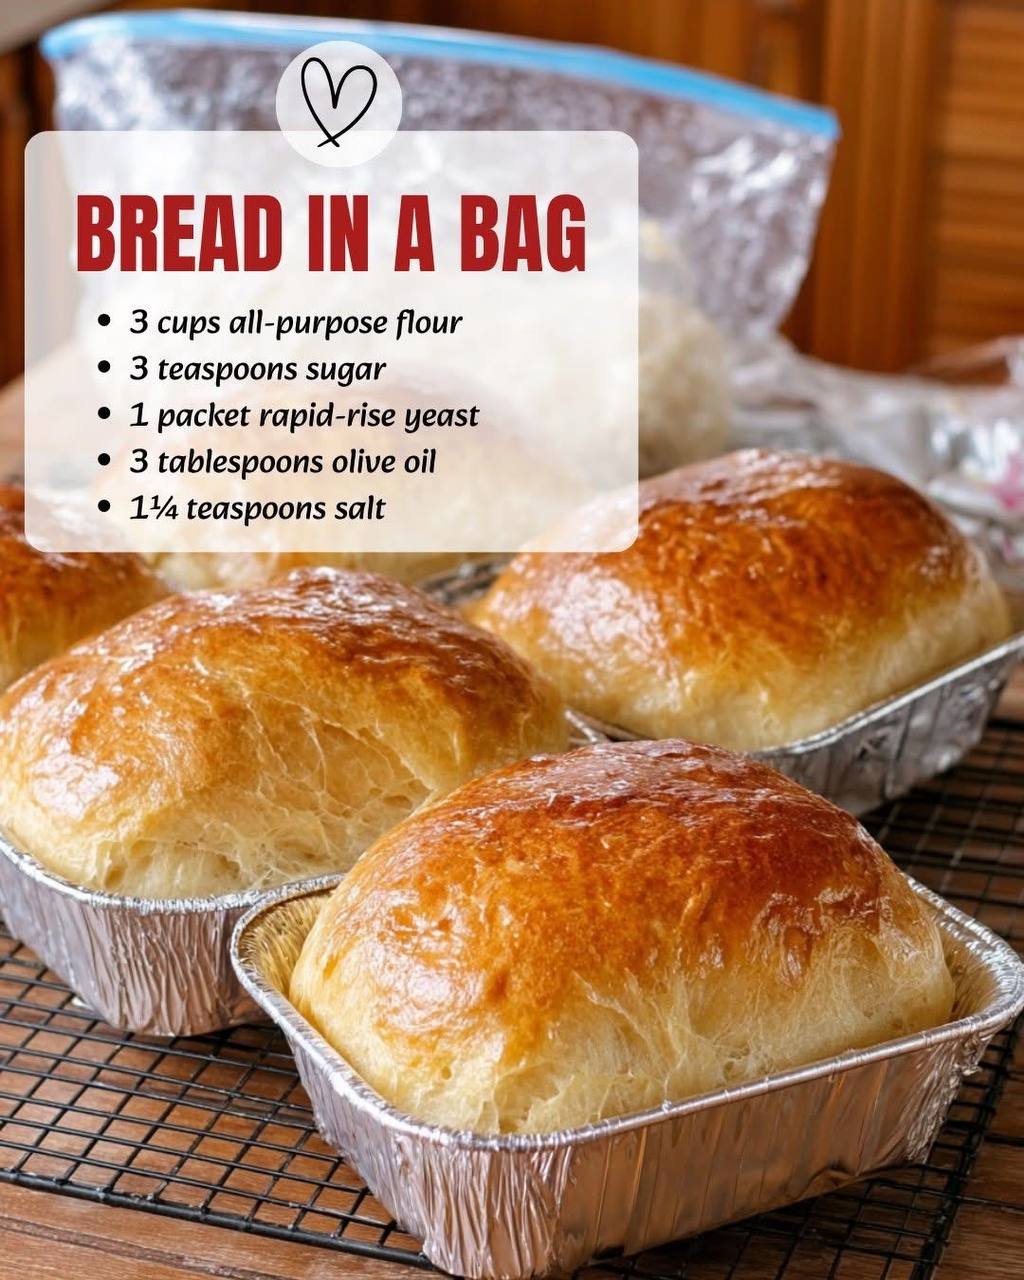
Imagine the comforting aroma of freshly baked bread wafting through your home, a golden-brown crust promising a soft, airy interior. Now, imagine achieving that culinary dream with minimal fuss, no sticky countertops, and hardly any cleanup. Welcome to the magical world of “Bread in a Bag,” a revolutionary no-knead recipe that’s taking the internet by storm! This isn’t just another bread recipe; it’s a game-changer for busy home cooks, baking beginners, and anyone looking for a fun, mess-free kitchen adventure. Forget the intimidating stand mixers and hours of kneading – with this method, your hands barely touch the dough, yet the results are consistently spectacular: perfectly portioned mini loaves that are soft, golden, and utterly delicious.
The genius of “Bread in a Bag” lies in its simplicity and sheer convenience. By utilizing a heavy-duty Ziploc bag for mixing and the initial rise, we eliminate the need for traditional kneading, making this recipe incredibly beginner-friendly. It’s perfect for those who’ve always wanted to bake bread but felt intimidated by the process. Beyond its ease, this technique is also fantastic for involving kids in the kitchen; they’ll love squishing and mixing the dough in the bag! The individual mini loaves are not only adorable but also incredibly practical, perfect for serving alongside dinner, crafting into sandwiches, or enjoying with a smear of butter and jam for breakfast. Get ready to impress yourself and your loved ones with homemade bread that tastes like it took hours, but only took minutes of active prep!
This recipe transforms a few pantry staples into warm, comforting bread that rivals any bakery. The combination of active yeast, a touch of sugar, flour, olive oil, and salt comes together in the most effortless way imaginable. The result is a beautifully textured, flavorful loaf that’s crusty on the outside and wonderfully tender on the inside. Whether you’re looking for a quick side for your weeknight meal, an impressive addition to your brunch spread, or just a delightful baking project, “Bread in a Bag” delivers every time. Prepare to fall in love with the easiest, most rewarding bread-making experience you’ve ever had!
Nutritional Information
Per serving (approximate values for 1 of 4 mini loaves):
- Calories: 375 kcal
- Protein: 12g
- Carbohydrates: 68g
- Fat: 7g
- Fiber: 2g
- Sodium: 750mg
Ingredients
- 1 packet (2 1/4 teaspoons) rapid-rise yeast
- 1 cup warm water (105-115°F / 40-46°C)
- 3 cups all-purpose flour, plus extra for dusting
- 3 teaspoons granulated sugar
- 1 1/4 teaspoons fine sea salt
- 3 tablespoons olive oil, plus extra for greasing
Instructions
- Activate the Yeast: In a small mixing bowl, combine the warm water and 3 teaspoons of sugar. Sprinkle the rapid-rise yeast over the top. Let it sit for 5-10 minutes until the mixture becomes foamy and bubbly, indicating the yeast is active.
- Prepare the Bag: Open a heavy-duty, gallon-sized Ziploc freezer bag. Add the 3 cups of all-purpose flour and 1 1/4 teaspoons of salt to the bag. Shake the bag gently to combine the dry ingredients.
- Combine Wet and Dry: Pour the activated yeast mixture and 3 tablespoons of olive oil into the Ziploc bag with the flour mixture.
- Seal and Mix: Carefully press out as much air as possible from the bag, then seal it securely. Now comes the fun part! Using your hands, squish, squeeze, and massage the bag from the outside, mixing the contents thoroughly until a shaggy, cohesive dough forms. Make sure all the flour is incorporated and there are no dry patches. This process usually takes about 2-3 minutes of active mixing.
- First Rise (Proofing): Once the dough is mixed, gently press out any remaining excess air from the bag and seal it again. Place the bag in a warm spot in your kitchen (like near a sunny window or on top of a preheating oven) and let the dough rise for 45-60 minutes, or until it has roughly doubled in size.
- Prepare for Second Rise: While the dough is rising, lightly grease four small aluminum foil loaf pans (or similar small baking dishes) with olive oil.
- Shape the Loaves: Once the dough has doubled, gently punch down the bag to deflate the dough. Carefully open the bag and transfer the dough onto a lightly floured surface. Divide the dough into four equal portions. Gently shape each portion into a small loaf, tucking the edges underneath to create a smooth top.
- Second Rise: Place each shaped mini loaf into a prepared greased loaf pan. Loosely cover the pans with plastic wrap or a clean kitchen towel. Let the loaves rise in a warm spot for another 30-45 minutes, or until they have visibly puffed up and look airy. About 15 minutes before the second rise is complete, preheat your oven to 375°F (190°C).
- Bake to Golden Perfection: Once the oven is preheated and the loaves have risen, remove the plastic wrap. If desired, you can brush the tops with a light egg wash (1 egg yolk whisked with 1 tablespoon water) or a little milk for a deeper golden crust. Place the loaf pans on a baking sheet and bake for 20-25 minutes, or until the tops are golden brown and the internal temperature reaches 200-210°F (93-99°C). If you tap the bottom of a loaf, it should sound hollow.
- Cool and Serve: Carefully remove the loaves from the oven. Let them cool in their pans for 5 minutes before transferring them to a wire cooling rack to cool completely. This step is crucial for preventing sogginess and allowing the internal structure to set. Once cooled, slice and enjoy your easy, homemade “Bread in a Bag”!
Cooking Tips and Variations
For the perfect “Bread in a Bag” every time, pay close attention to your water temperature when activating the yeast. It should be warm to the touch, like a baby’s bath – not too hot, which can kill the yeast, and not too cold, which won’t activate it. Aim for 105-115°F (40-46°C). Using a heavy-duty, gallon-sized freezer bag is non-negotiable; thinner bags can tear during the vigorous mixing process. Before the first rise, remember to press out as much air as possible from the bag to allow the dough maximum room to expand. A light brushing of olive oil or butter inside your loaf pans will ensure your beautiful bread slides out effortlessly after baking.
To achieve that irresistible golden crust, consider an egg wash (one egg yolk whisked with a tablespoon of water or milk) brushed over the loaves before baking. This gives a beautiful shine and rich color. Knowing when your bread is done is key; besides the visual cue of a deep golden-brown, a quick tap on the bottom of the loaf should produce a hollow sound. For ultimate precision, an instant-read thermometer should register between 200-210°F (93-99°C) in the center of the loaf. And finally, patience is a virtue: always cool your loaves completely on a wire rack. Cutting into hot bread can result in a gummy texture.
This recipe is also a fantastic canvas for flavor experimentation. For savory variations, try adding 1-2 teaspoons of dried herbs like rosemary, thyme, or oregano to the dry ingredients. A teaspoon of garlic powder can also elevate the flavor. For cheesy goodness, fold in 1/2 cup of shredded cheddar or Parmesan cheese during the shaping stage. If you’re craving something sweet, swap out some of the sugar for brown sugar, add a teaspoon of cinnamon, and mix in 1/2 cup of raisins or dried cranberries. For a healthier twist, you can substitute up to 1 cup of the all-purpose flour with whole wheat flour, though this might result in a slightly denser loaf and potentially require a tiny bit more water.
Storage and Reheating
Freshly baked “Bread in a Bag” is best enjoyed the day it’s made, but it stores wonderfully for a few days. To keep it fresh, once completely cooled, store the loaves in an airtight container or a bread bag at room temperature for up to 3-4 days. Avoid refrigerating bread, as it tends to dry out and become stale more quickly. If you won’t be eating all the loaves within a few days, they freeze beautifully! Wrap individual cooled loaves tightly in plastic wrap, then place them in a freezer-safe bag or aluminum foil. They can be frozen for up to 2-3 months.
To reheat frozen bread, you can either thaw it at room temperature and then warm it in a preheated oven at 350°F (175°C) for 5-10 minutes, or you can pop the unwrapped loaf directly from the freezer into the oven for 15-20 minutes, until warmed through and the crust is crisp again. For daily reheating of room temperature bread, a toaster oven or a regular oven works best. A short time (5-7 minutes) at 350°F (175°C) will bring back that wonderful warmth and a slightly crispy crust, making it taste almost freshly baked. You can also slice and toast individual pieces for quick enjoyment.
Frequently Asked Questions
Can I use active dry yeast instead of rapid-rise yeast?
Yes, you can absolutely use active dry yeast, but the rising times might be slightly longer. If using active dry yeast, ensure it’s properly activated in the warm water and sugar mixture until visibly foamy. You might need to add an extra 15-30 minutes to both the first and second rise times, depending on the warmth of your kitchen.
My dough isn’t rising. What went wrong?
The most common reasons for dough not rising are either the water was too hot and killed the yeast, or the water was too cold and didn’t activate it. Ensure your water temperature is between 105-115°F (40-46°C). Also, check the expiration date on your yeast; old yeast loses its potency. Make sure your rising spot is genuinely warm and draft-free.
Can I make this recipe in a larger loaf pan?
While this recipe is designed for mini loaves, you can certainly combine the dough into one standard-sized loaf pan. If you do this, you will need to increase the baking time. A large loaf will likely require 30-40 minutes at 375°F (190°C), or until it’s golden brown and sounds hollow when tapped, and an internal temperature of 200-210°F (93-99°C) is reached. Keep an eye on it to prevent over-browning.
What if I don’t have olive oil? Can I use another type of oil?
Yes, you can substitute olive oil with another neutral-flavored oil like vegetable oil, canola oil, or melted coconut oil (ensure it’s not hot when added to the yeast mixture). The olive oil adds a subtle flavor depth, but the bread will still be delicious with other oils.