
Introduction
There’s a certain magic that emanates from a grandmother’s kitchen – an undeniable warmth, a comforting aroma, and the promise of a dish made with generations of love. Among these cherished culinary heirlooms, some recipes rise to legendary status, becoming synonymous with family gatherings, celebrations, and the simple joy of a homemade treat. Today, we’re diving into one such legend: Grandma’s Famous Sweet Potato Butter Cake. This isn’t just any cake; it’s a moist, tender, spiced masterpiece that captures the essence of autumn and the timeless comfort of a grandmother’s embrace. Its “fame” isn’t found in celebrity endorsements or Michelin stars, but in the countless smiles it has brought to faces around the family table, the quiet sighs of contentment it elicits with every bite, and the enduring memories it creates.
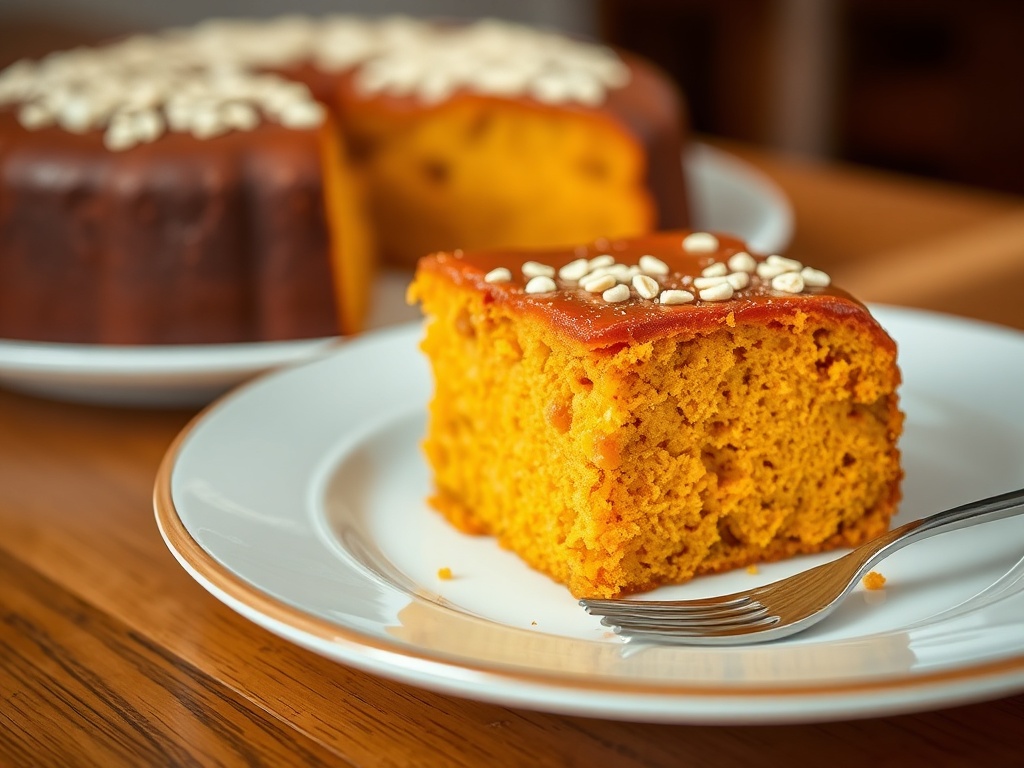
What makes this Sweet Potato Butter Cake so extraordinary? It’s a harmonious blend of simple, wholesome ingredients elevated by Grandma’s time-tested touch. The natural sweetness and earthy richness of real sweet potato puree are perfectly balanced with the luxurious creaminess of butter, a medley of warming spices, and a whisper of buttermilk that ensures an impossibly tender crumb. It’s a cake that feels both special enough for holiday feasts and comforting enough for an everyday indulgence. Every forkful transports you back to a simpler time, to a kitchen filled with laughter, and to the unwavering love of a grandmother who poured her heart into every dish. My own Grandma, with her flour-dusted apron and knowing smile, always said this cake was her secret to making any day feel like a celebration. It was her signature contribution to every potluck, holiday spread, and impromptu family visit, always disappearing faster than she could bake it. It’s a taste of home, a hug in cake form, and a legacy I’m so excited to share with you.
In this article, you’ll discover the cherished recipe for Grandma’s Famous Sweet Potato Butter Cake, complete with detailed instructions to guide you every step of the way. We’ll also delve into essential tips and tricks to ensure your cake turns out perfectly moist and flavorful each time, explore delightful variations to customize it to your liking, and provide practical advice on storage and serving. Prepare to embark on a culinary journey that celebrates tradition, flavor, and the enduring power of family recipes. Get ready to create your own cherished memories with this truly famous sweet potato butter cake.
Nutritional Information
Per serving (approximate values):
- Calories: 420
- Protein: 5g
- Carbohydrates: 58g
- Fat: 20g
- Fiber: 2g
- Sodium: 310mg
Ingredients
- 2 cups (about 1 pound) cooked sweet potato puree (from 2-3 medium sweet potatoes)
- 2 ½ cups all-purpose flour
- 1 ½ teaspoons baking powder
- 1 teaspoon baking soda
- ½ teaspoon salt
- 1 ½ teaspoons ground cinnamon
- ½ teaspoon ground nutmeg
- ¼ teaspoon ground ginger
- ⅛ teaspoon ground allspice
- 1 cup (2 sticks) unsalted butter, softened
- 1 ¾ cups granulated sugar
- 2 large eggs, at room temperature
- 1 teaspoon pure vanilla extract
- 1 cup buttermilk, at room temperature
- Optional Glaze:
- 1 cup powdered sugar
- 2 tablespoons milk or cream
- ½ teaspoon vanilla extract
Instructions
- Preheat your oven to 350°F (175°C). Grease and flour a 9×13 inch baking pan, or spray generously with non-stick baking spray.
- Prepare your sweet potato puree: If you haven’t already, cook your sweet potatoes until very tender. You can roast them (prick with a fork, bake at 400°F for 45-60 minutes until soft), boil them (peeled and cubed, boil for 15-20 minutes), or steam them. Once cooked, peel and mash them thoroughly until absolutely smooth. Measure out 2 cups and set aside to cool slightly.
- In a medium bowl, whisk together the dry ingredients: all-purpose flour, baking powder, baking soda, salt, ground cinnamon, ground nutmeg, ground ginger, and ground allspice. Set aside.
- In a large mixing bowl, using an electric mixer (stand mixer with paddle attachment or hand mixer), cream together the softened unsalted butter and granulated sugar on medium speed until light, fluffy, and pale in color, about 3-5 minutes. Scrape down the sides of the bowl as needed.
- Add the eggs one at a time, beating well after each addition until fully incorporated. Stir in the vanilla extract.
- Reduce the mixer speed to low. Add the cooled sweet potato puree to the butter mixture and beat until just combined. The mixture may look slightly curdled at this stage, which is normal.
- Gradually add the dry ingredients to the wet ingredients in three additions, alternating with the buttermilk in two additions. Begin and end with the dry ingredients. For example, add about one-third of the flour mixture, mix on low speed until just combined. Then add half of the buttermilk, mix until just combined. Repeat with another third of the flour, the remaining buttermilk, and finally the last third of the flour. Be careful not to overmix the batter; mix only until no streaks of flour remain. Overmixing can lead to a tough cake.
- Pour the cake batter evenly into the prepared 9×13 inch baking pan.
- Bake for 45-55 minutes, or until a wooden skewer or toothpick inserted into the center of the cake comes out clean. The top should be golden brown and spring back when lightly touched.
- Remove the cake from the oven and place it on a wire rack to cool in the pan for about 15-20 minutes.
- While the cake is cooling, prepare the optional glaze: In a small bowl, whisk together the powdered sugar, milk or cream, and vanilla extract until smooth and pourable. If too thick, add a tiny bit more milk; if too thin, add a little more powdered sugar.
- Once the cake has cooled slightly, you can either pour the glaze directly over the warm cake (it will soak in beautifully) or wait until the cake is completely cool to spread a thicker glaze.
- Allow the cake to cool completely before slicing and serving for the best texture, especially if you’re applying a thicker glaze or frosting.
Cooking Tips and Variations
Achieving Grandma’s legendary status for this sweet potato butter cake requires a few key insights and some room for personal creativity. First and foremost, the secret to the cake’s incredible moisture and deep flavor lies in the sweet potato puree itself. For the absolute best results, always roast your sweet potatoes instead of boiling them. Roasting caramelizes their natural sugars, intensifying their sweetness and depth of flavor in a way boiling simply cannot achieve. Prick them all over with a fork, place them on a baking sheet, and roast at 400°F (200°C) until very tender, usually 45-60 minutes. Once cooled, the skins will peel off easily, and you can mash them smoothly with a fork, potato masher, or even a food processor for a perfectly lump-free puree. Ensure your puree is completely cooled before adding it to the batter; warm puree can melt the butter and affect the cake’s texture.
Ingredient temperature is another critical factor. Always use softened butter and room temperature eggs and buttermilk. This isn’t just a suggestion; it’s a golden rule in baking. Room temperature ingredients emulsify much better, meaning they blend together seamlessly to create a smooth, homogenous batter. This leads to a finer, more tender crumb and a lighter cake. If your butter isn’t soft enough, it won’t cream properly with the sugar, resulting in a denser cake. If your eggs are cold, they can cause the batter to curdle. To quickly bring eggs to room temperature, place them in a bowl of warm (not hot) water for 5-10 minutes. For buttermilk, take it out of the fridge about 30 minutes before you start baking.
When it comes to mixing, resist the urge to overmix, especially once the flour has been added. Overmixing develops gluten in the flour, which can lead to a tough, chewy cake instead of the desired tender, melt-in-your-mouth texture. Mix on low speed until just combined, stopping as soon as no dry streaks of flour are visible. A few small lumps are perfectly fine and often preferred over an overmixed batter. Use a spatula to give the bowl a final scrape and gentle fold to ensure everything is incorporated without overworking the gluten.
For variations, this cake is wonderfully adaptable. If you love nuts, fold in 1 cup of chopped pecans or walnuts into the batter at the very end. Toasting the nuts lightly before adding them will enhance their flavor even further. For an extra layer of texture and flavor, consider a pecan streusel topping instead of a glaze. Combine ½ cup packed brown sugar, ½ cup chopped pecans, ¼ cup all-purpose flour, and ¼ cup cold butter cut into small pieces. Use your fingertips to rub the butter into the dry ingredients until crumbly, then sprinkle over the batter before baking. If you prefer a richer frosting, a classic cream cheese frosting is an absolute dream with this cake. The tangy cream cheese perfectly complements the sweetness of the sweet potato and spices. For a less sweet option, simply dust the cooled cake with powdered sugar or serve it plain with a dollop of fresh whipped cream.
Spice adjustments are also welcome. The provided spice blend is a classic, but feel free to tailor it to your palate. If you love ginger, increase it slightly. A pinch of cardamom can add an exotic, fragrant note. If you prefer a milder spice profile, you can slightly reduce the quantities. Just remember that the spices are key to that warm, autumnal flavor profile that makes this cake so comforting. Finally, for an intensified sweet potato flavor, consider adding a tablespoon of dark rum or bourbon to the batter along with the vanilla extract. It adds a subtle depth and complexity that elevates the cake even further.
Storage and Reheating
Proper storage is key to keeping Grandma’s Famous Sweet Potato Butter Cake moist and delicious for days. If your cake is unfrosted or has a simple powdered sugar glaze, it can be stored at room temperature for up to 3 days. Make sure to keep it in an airtight container to prevent it from drying out. A cake dome or a large container with a tight-fitting lid works perfectly. Avoid placing it in direct sunlight or near heat sources, as this can accelerate spoilage.
If your cake is topped with a cream cheese frosting or a glaze made with dairy, it’s best to store it in the refrigerator. Place the cake in an airtight container or cover it loosely with plastic wrap before refrigerating. It will keep well in the fridge for up to 5 days. Be aware that refrigeration can sometimes slightly alter the texture of cakes, making them a bit firmer. To combat this, allow refrigerated cake slices to come to room temperature for 15-30 minutes before serving for the best flavor and texture.
This sweet potato butter cake also freezes beautifully, making it an excellent option for meal prep or enjoying a slice whenever a craving strikes. For best results, allow the cake to cool completely before freezing. If the cake is unfrosted or has a simple glaze, you can freeze it whole or in individual slices. Wrap the cake tightly in several layers of plastic wrap, then an additional layer of aluminum foil. This double layer of protection prevents freezer burn and keeps the cake fresh. If freezing slices, place them on a baking sheet in the freezer until firm, then wrap individually. Frozen cake can be stored for up to 2-3 months. To thaw, simply unwrap the cake (or individual slices) and let it sit at room temperature for several hours (for a whole cake) or about an hour (for slices) until fully defrosted. If you’ve frozen a frosted cake, it’s best to freeze it uncovered until the frosting is solid, then wrap it tightly and freeze. Thaw in the refrigerator overnight.
Reheating is generally not necessary for this cake, as it’s best enjoyed at room temperature. However, if you prefer a warm slice, especially on a chilly day, you can gently warm individual portions. Place a slice on a microwave-safe plate and microwave for 15-30 seconds, or until just warm to the touch. Be careful not to overheat, as this can dry out the cake. Alternatively, you can warm a slice in a preheated oven at 250°F (120°C) for about 5-10 minutes, especially if you want to crisp up any streusel topping. Always ensure the cake is completely thawed before reheating.
Frequently Asked Questions
What kind of sweet potatoes should I use for the puree?
For the best flavor and sweetness, use orange-fleshed sweet potatoes, often labeled as “Beauregard” or “Jewel” varieties. These are naturally sweeter and have a beautiful vibrant color that will shine through in your cake. White or purple varieties tend to be less sweet and have a drier texture, which might alter the cake’s consistency and flavor profile.
Can I make this cake ahead of time for a special occasion?
Absolutely! This sweet potato butter cake is an excellent make-ahead dessert, as its flavors tend to deepen and meld beautifully overnight. You can bake the cake up to 2-3 days in advance if storing at room temperature (unfrosted or with a simple glaze) or up to 5 days if refrigerated (with cream cheese frosting). For maximum freshness, bake the cake, let it cool completely, and then store it properly. Apply any frosting or glaze a few hours before serving, or even the day before.
My cake came out dry. What went wrong?
A dry cake is usually a result of one or a combination of factors: overbaking, too much flour, or not enough moisture. Double-check your oven temperature with an oven thermometer to ensure it’s accurate, as an oven that runs hot can lead to overbaking. Always use the “toothpick test” for doneness rather than relying solely on time. Make sure you’re measuring your flour correctly, ideally by weight (a kitchen scale is highly recommended for baking accuracy) or by spooning flour into the measuring cup and leveling it off, rather than scooping directly from the bag. Lastly, ensure your sweet potato puree is moist and not too dry, and that your buttermilk is fresh and at room temperature.
Can I substitute the buttermilk?
Yes, if you don’t have buttermilk on hand, you can easily make a substitute. Combine 1 cup of regular milk (dairy or non-dairy) with 1 tablespoon of white vinegar or lemon juice. Stir it gently and let it sit for 5-10 minutes until it slightly curdles. This “soured” milk will work as a suitable replacement for buttermilk, providing the necessary acidity and moisture to the cake.


