
Heavenly Cream Cheese Pie: A Delightful No-Bake Dessert
Introduction
When it comes to easy, crowd-pleasing desserts, few can compete with a well-crafted cream cheese pie. Whether it’s for a summer gathering, a holiday feast, or simply a weekday treat, this Heavenly Cream Cheese Pie is a stellar choice. With its creamy texture, refreshing flavor, and simple preparation, it’s the perfect dessert for both novice and experienced bakers. In this extensive guide, you’ll discover everything you need to know about crafting this delightful dessert, from step-by-step instructions to variations, serving suggestions, and storage tips. Get ready to impress your friends and family with this heavenly creation!
Why You’ll Love This Cream Cheese Pie
- No-Bake Wonder: This recipe doesn’t require an oven, making it ideal for hot summer days or when you want something simple.
- Quick to Prepare: You can create this pie in under 30 minutes, allowing you more time to enjoy with loved ones.
- Versatile Flavor: Customize the flavor profile with different toppings, crusts, and fillings. This versatility means it can suit any occasion.
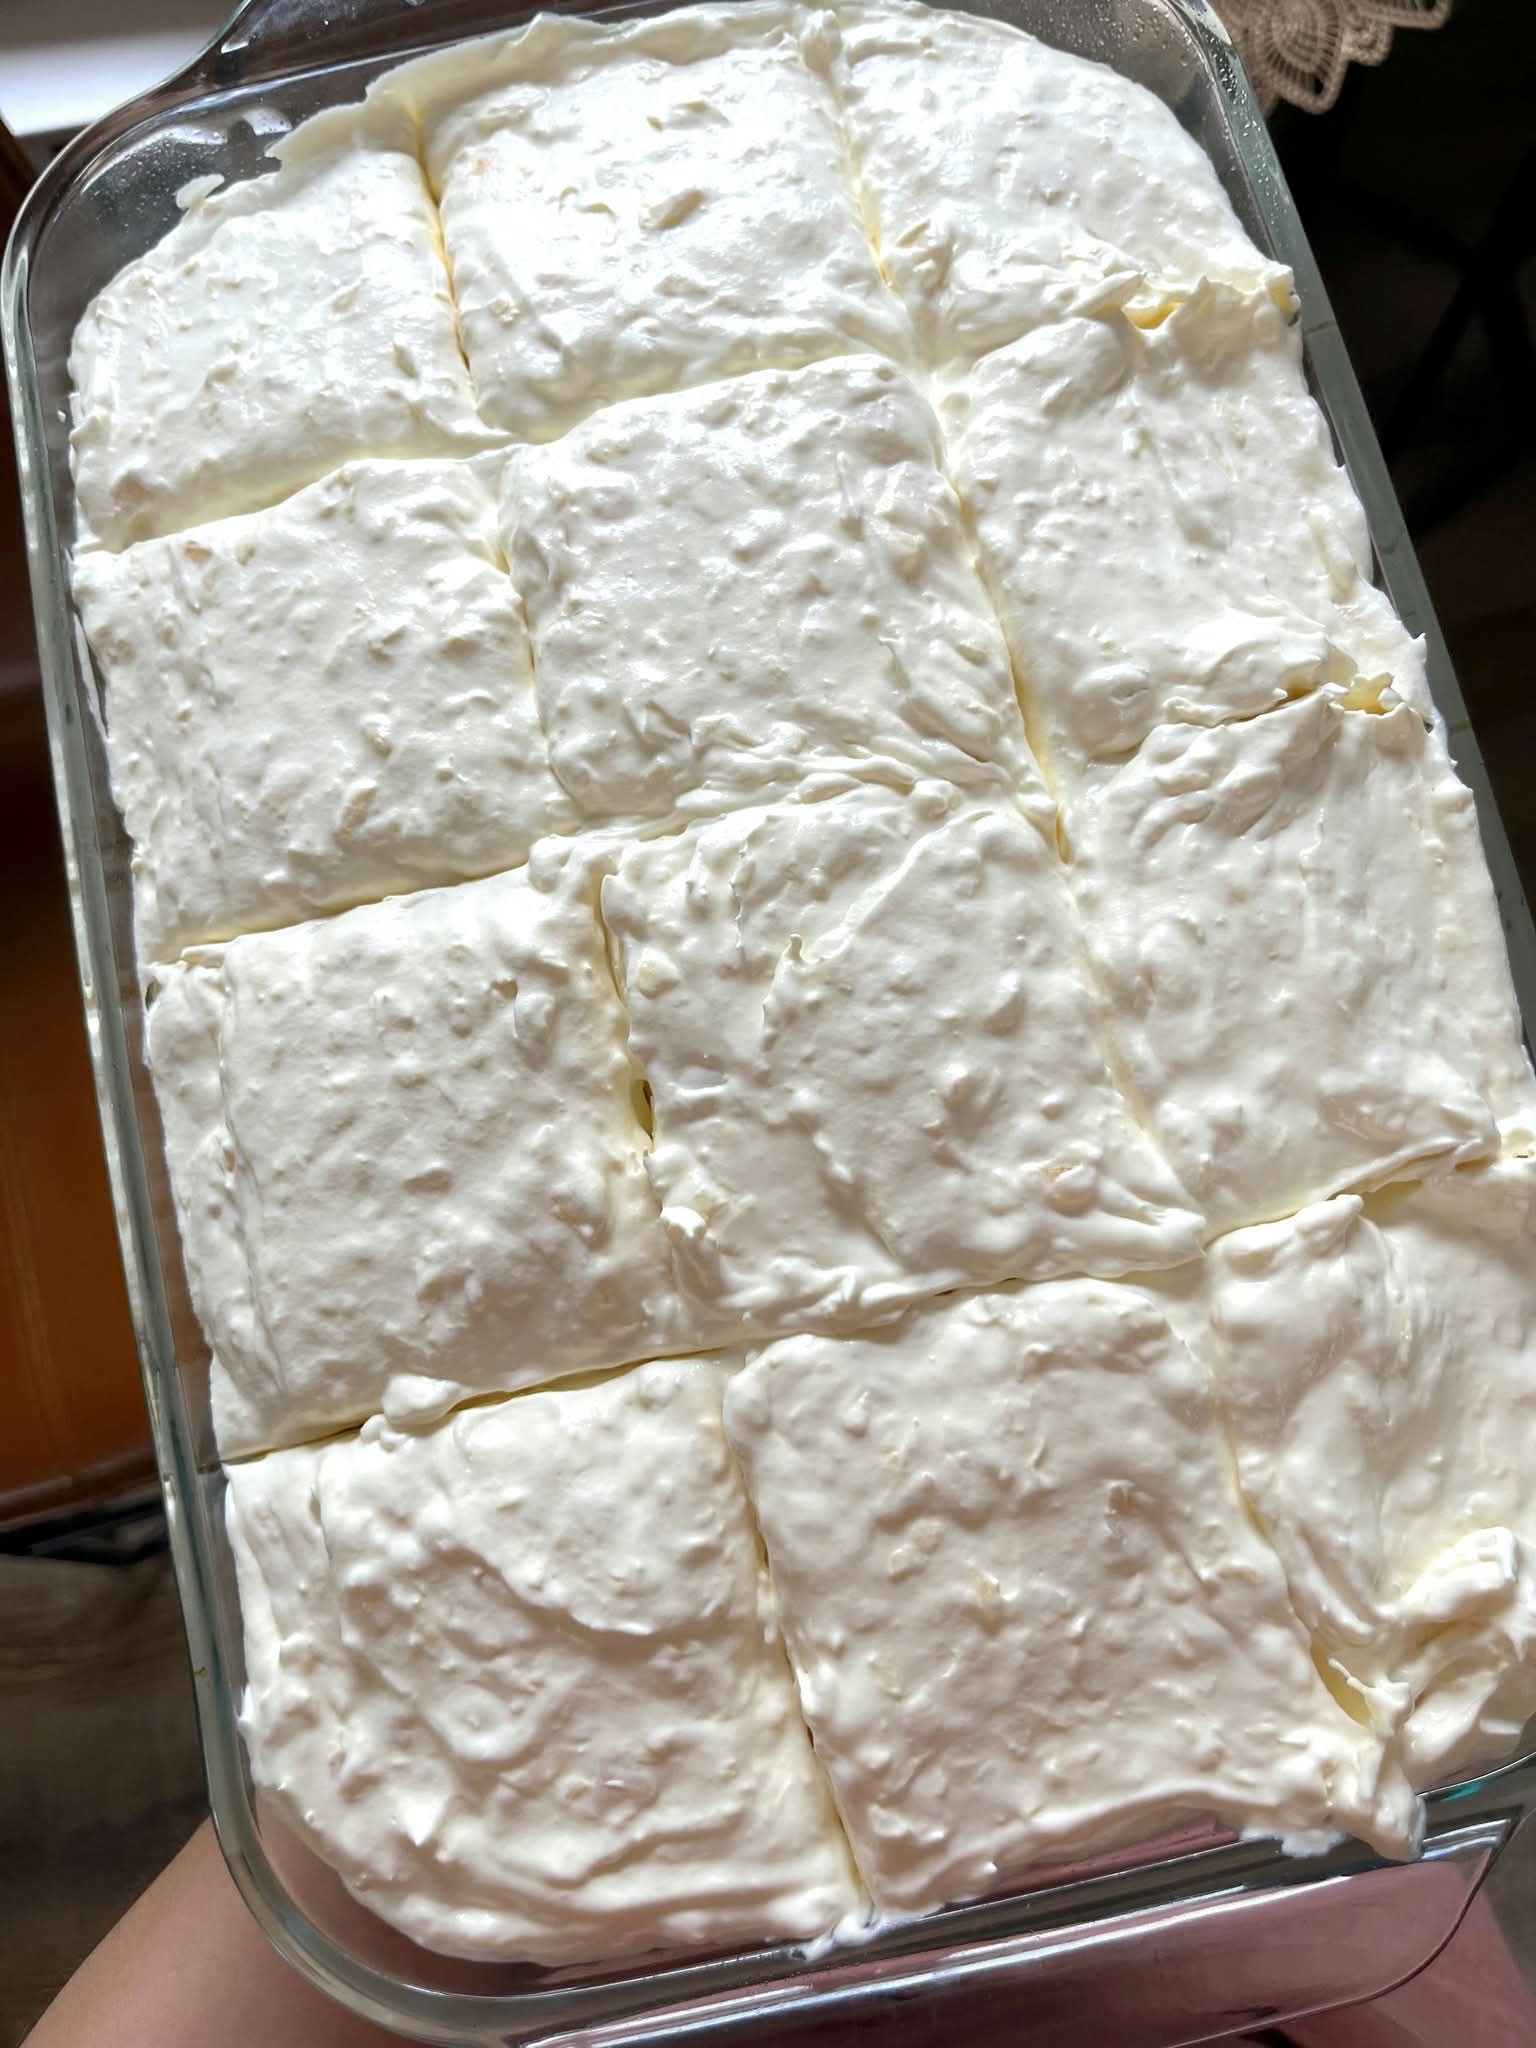
- Visually Appealing: The creamy, smooth appearance with a glossy finish makes it a stunning centerpiece for any dessert table.
- Crowd-pleaser: The combination of sweetness and creaminess will win over anyone’s heart! Whether you’re entertaining guests or celebrating with family, this pie is sure to be a hit.
Ingredients
For the Crust:
- 1 ½ cups graham cracker crumbs (or digestive biscuits)
- ½ cup unsalted butter, melted
- ⅓ cup granulated sugar
For the Filling:
- 2 (8 oz.) packages of cream cheese, softened
- 1 cup powdered sugar
- 1 teaspoon vanilla extract
- 1 cup heavy whipping cream
For Topping (optional):
- Fresh fruit (strawberries, blueberries, raspberries)
- Chocolate shavings or chocolate ganache
- Caramel sauce
- Whipped cream
Step-by-Step Instructions
Step 1: Prepare the Crust
- Preheat the Oven (if baking): If you prefer a baked crust, preheat your oven to 350°F (175°C). If you want a no-bake crust, skip this step.
- Mix Ingredients: In a medium bowl, combine graham cracker crumbs, melted butter, and granulated sugar. Stir until all crumbs are evenly coated.
- Form the Crust: If baking, press the crumb mixture into the bottom and up the sides of a 9-inch pie dish firmly. For a no-bake crust, press the crumb mixture into the dish as well, but you can skip baking.
- Bake (optional): If baking, place the crust in the preheated oven and bake for 8-10 minutes until lightly golden. Let cool completely.
Step 2: Prepare the Filling
- Beat the Cream Cheese: In a large mixing bowl, beat the softened cream cheese with an electric mixer on medium speed until smooth and creamy (about 2-3 minutes).
- Add Sugar and Vanilla: Gradually add the powdered sugar and vanilla extract, continuing to mix until fully incorporated and smooth.
- Whip the Cream: In a separate bowl, whip the heavy cream until stiff peaks form. This process takes about 3-4 minutes.
- Combine Mixtures: Gently fold the whipped cream into the cream cheese mixture using a spatula, careful not to deflate the whipped cream. Mix until just combined, and the texture is smooth and creamy.
Step 3: Assemble the Pie
- Fill the Crust: Pour the cream cheese filling into the prepared crust, spreading it evenly.
- Chill: Cover with plastic wrap and place the pie in the refrigerator for at least 4 hours, preferably overnight, to allow it to set properly.
Step 4: Serve
- Add Toppings: Before serving, top the pie with fresh fruit, chocolate shavings, or whipped cream as desired.
- Slice and Enjoy: Cut into wedges and serve chilled. Enjoy the heaven of creamy bliss!
Variations to Try
1. Chocolate Cream Cheese Pie
- Add Cocoa: Mix ½ cup of cocoa powder into the cream cheese filling for a decadent chocolate twist.
2. Fruit Cream Cheese Pie
- Incorporate Fruit: Blend in 1 cup of pureed fruit (like strawberries or peaches) into the cream cheese mixture before folding in the whipped cream for a fruit-infused flavor.
3. Pumpkin Cream Cheese Pie
- Seasonal Delight: Mix in 1 cup of pumpkin puree and 1 teaspoon of pumpkin pie spice for a festive fall dessert.
4. Nutty Delight
- Pecan or Almond Crust: Substitute a portion of the graham cracker crumbs with finely chopped nuts for added crunch.
5. No-Bake Cheesecake Variation
- Cheesecake Texture: For a dense cheesecake-like version, add 1-2 tablespoons of lemon juice and a slightly upward adjustment of the sugar to your filling mix.
Tips for Perfecting Your Cream Cheese Pie
- Soften Cream Cheese: Ensure your cream cheese is at room temperature to avoid lumps in your filling.
- Chill Before Serving: Allowing the pie to chill for at least 4 hours ensures the filling sets properly and enhances the flavors.
- Whip the Cream to Stiff Peaks: Ensuring your whipping cream reaches stiff peaks provides the perfect texture and support for the pie’s structure.
- Garnish Immediately Before Serving: To prevent toppings like fruit from becoming soggy, add them just before serving.
Suggested Pairings
- Serve with Coffee or Tea: The creamy richness of the pie pairs perfectly with a warm cup of coffee or tea.
- Ice Cream Side: Serve slices alongside a scoop of vanilla or chocolate ice cream for an indulgent treat.
- Chocolate Sauce Drizzle: A generous drizzle of chocolate sauce can elevate the dessert to new heights.
How to Store and Reheat
Storing:
- Refrigerate: This pie can be stored in the refrigerator, covered, for up to 5 days.
Freezing:
- Freeze for Longer Storage: If you wish to make it ahead of time, freeze the uncut pie (without toppings) for up to 2 months. After freezing, allow it to thaw in the fridge before serving.
Reheating:
- No Need to Reheat: This pie is best served cold, so there is no need to reheat.
Conclusion
The Heavenly Cream Cheese Pie is a dessert that delights with its creamy texture and versatility. Whether celebrating a special occasion or just wanting something delicious, this no-bake pie will never disappoint. With so many variations to explore, you can easily make this recipe your own. Don’t hesitate—gather your ingredients, and create this dessert that everyone will love!


